What Is Ayushman Card eKYC?
eKYC (electronic Know Your Customer) is the digital identity verification step that links your Aadhaar identity to your PMJAY beneficiary record. It is the mandatory final step before your Ayushman Card becomes downloadable.
The process works by:
- Verifying that you are the same person listed in the SECC 2011 PMJAY database
- Capturing a live photograph or biometric reading at the time of registration
- Matching this with your Aadhaar record stored at UIDAI
- Linking the verified identity to your unique PMJAY ID
eKYC is required because the Ayushman Card carries real financial value (₹5 lakh insurance coverage per family per year). Strong authentication prevents fraud, identity theft, and duplicate card issuance.
Security Note: All eKYC data is encrypted end-to-end. NHA does not store your Aadhaar number — it stores only an encrypted reference. The Government of India is legally bound by the Aadhaar Act 2016 and PMJAY rules to protect this data.
Pick Your Preferred Authentication Method
All four methods are official and equally secure. Choose based on what you have available.
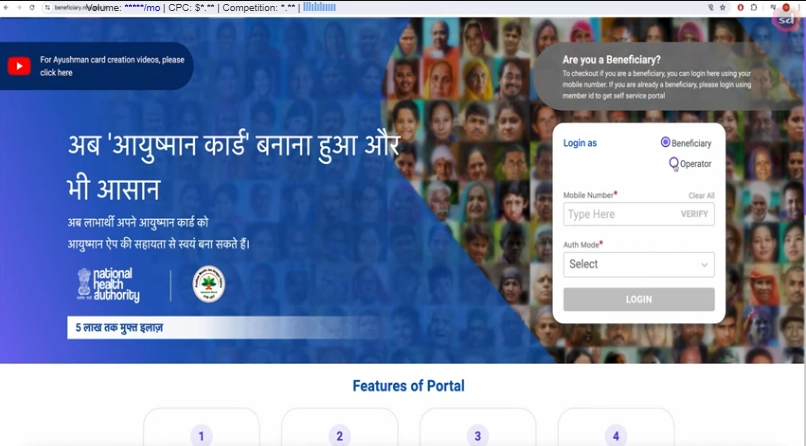
Step 1: Login to the PMJAY Portal
Visit beneficiary.nha.gov.in and click “Beneficiary”. Enter your Aadhaar-linked mobile + OTP to login.
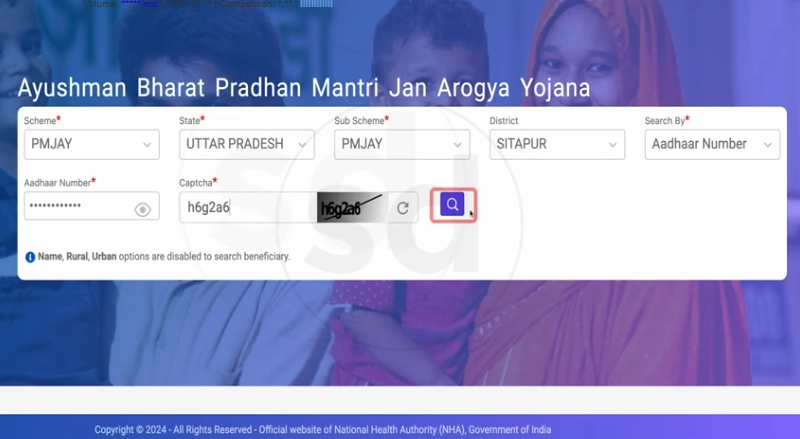
Step 2: Search Your Record
Set Scheme, State, District, and Search By (Aadhaar number recommended). Click Search. Your family members appear.
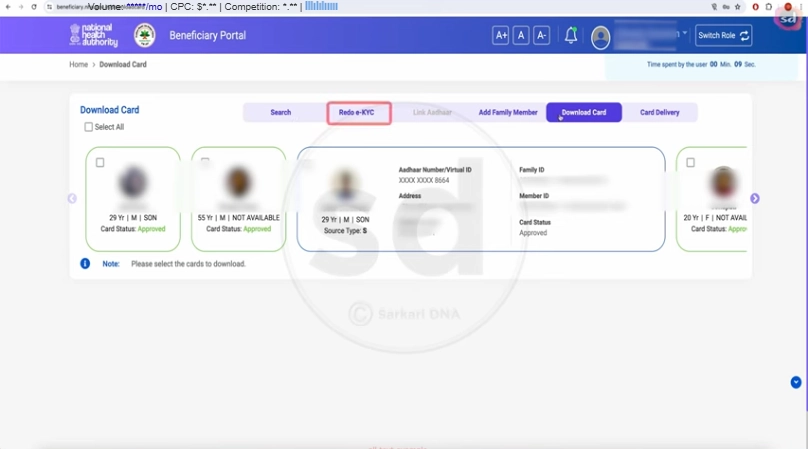
Step 3: Click the eKYC Icon
For any member showing Not Generated status, click the eKYC icon next to their name.
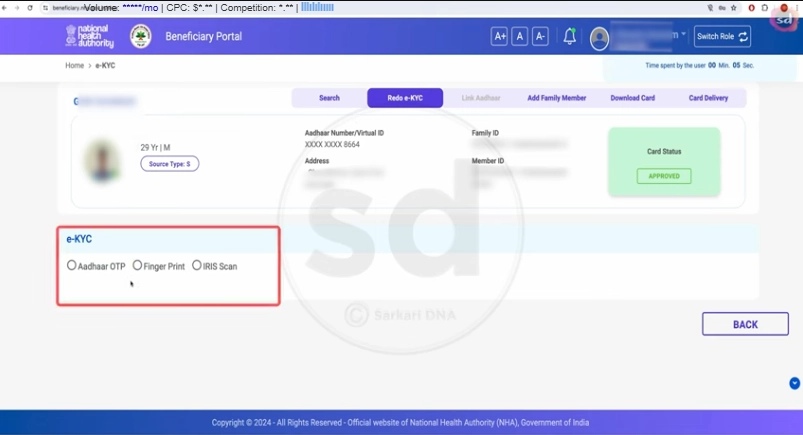
Step 4: Choose “Aadhaar OTP”
The system asks how you want to authenticate. Select “Aadhaar OTP”.
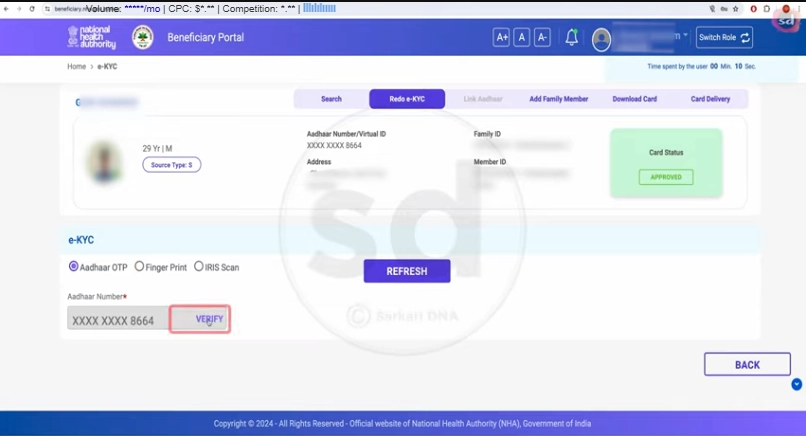
Step 5: Enter Aadhaar Number
- Type the 12-digit Aadhaar number of the cardholder
- Tick the consent checkbox
- Click “Verify”
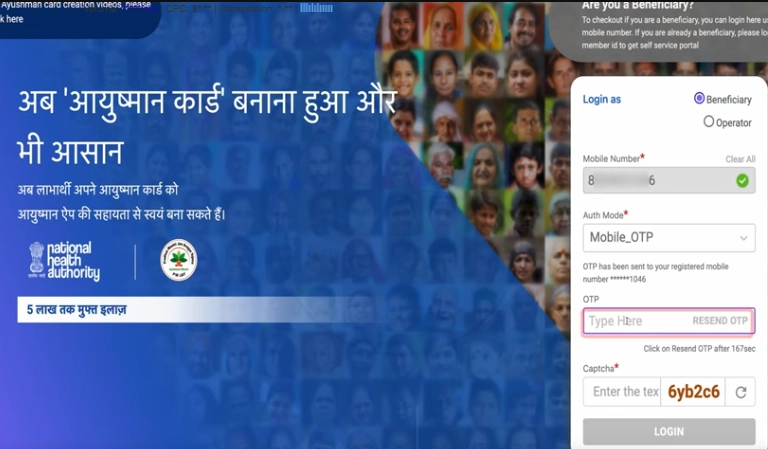
Step 6: Enter the OTP
An OTP arrives on the Aadhaar-linked mobile within 30 seconds. Enter the 6-digit code and click “Submit”.
Step 7: Capture Live Photo
The portal will open your device’s camera and prompt for a live photograph. Position your face clearly, ensure good lighting, and click capture. The system compares this with your Aadhaar photo.
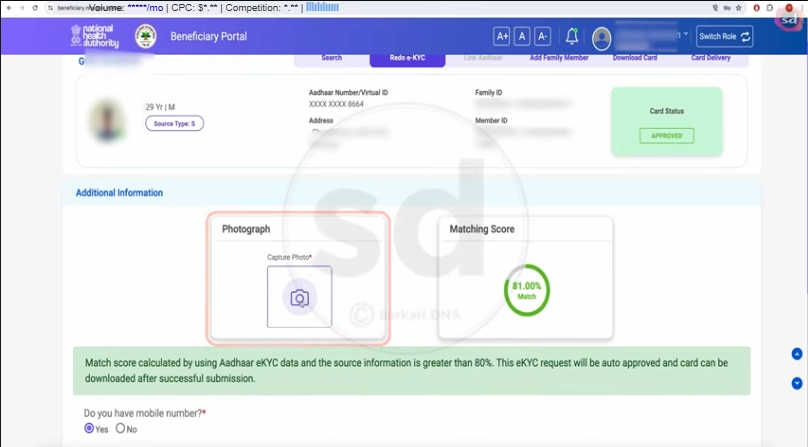
Step 8: Confirm Details
Review the name, date of birth, gender, and address fetched from Aadhaar. Click “Submit eKYC”.

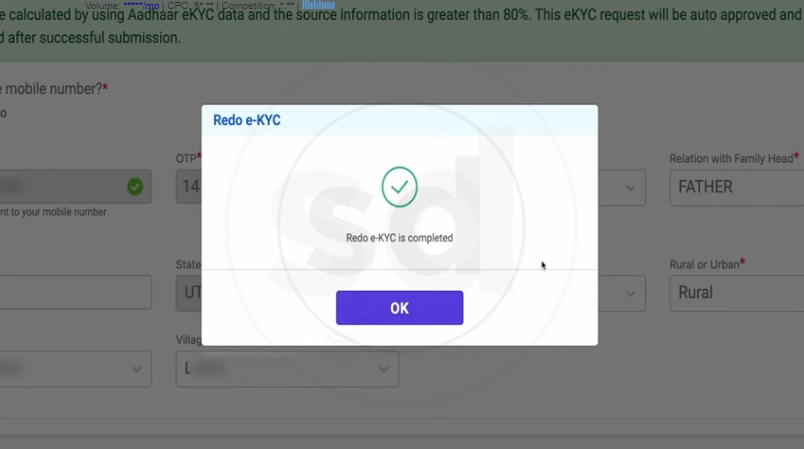
Step 9: Status Update
The screen displays “eKYC Completed Successfully”. Status changes from Not Generated → Pending → Approved (typically within an hour). Track via the status check page.
When to Use Face Authentication
Use this method if:
- Your Aadhaar-linked mobile number is inactive or unavailable
- You’re not receiving OTPs reliably
- The cardholder is elderly and doesn’t own a smartphone
- You want the fastest eKYC option (typically under 60 seconds)
Prerequisites
You’ll need the AadhaarFaceRD app installed on your phone — this is the official UIDAI app that runs in the background during Face Auth. It does not need to be opened manually — install it from Play Store and the PMJAY system uses it automatically.
Step 1: Install AadhaarFaceRD
Open Google Play Store, search “AadhaarFaceRD”, and install it. (Publisher: UIDAI — Unique Identification Authority of India.) It is free and official. iOS users: the same flow happens through the Ayushman App’s built-in camera.
Step 2: Open the Ayushman App or Portal
Login to the official Ayushman Bharat app or beneficiary.nha.gov.in.
Step 3: Choose Face Authentication
In the eKYC flow, select “Face Authentication” instead of OTP.
Step 4: Enter Aadhaar
Enter the 12-digit Aadhaar number, tick consent, and click “Verify”.
Step 5: Allow Camera Access
The system requests camera permission. Tap “Allow”.
Step 6: Capture Live Face
- Position your face within the on-screen oval
- Ensure even lighting — face the window, not the wall
- Hold still for 3 seconds while the system captures multiple frames
- Remove glasses if possible for higher accuracy
Step 7: Verification Result
The system instantly compares your face with your Aadhaar photo. Success displays “Face Verified ✓”. Failure offers a retry — up to 3 attempts allowed.
Step 8: Submit eKYC
Review your details and click “Submit eKYC”. Status changes to Pending, then to Approved within an hour.
Tip: Face Authentication has a higher initial failure rate than OTP (around 8% per attempt), but each retry uses different frames so success usually comes in 2–3 tries.
When to Use Biometric eKYC
This is the most reliable method when:
- Both OTP and Face Auth have failed
- The cardholder has no Aadhaar-linked mobile
- You prefer in-person help from a trained operator
- The cardholder is bedridden (some CSCs offer doorstep service)
Step 1: Find Your Nearest CSC
Visit locator.csccloud.in to find the nearest CSC (Common Service Centre / Jan Seva Kendra). India has over 5 lakh CSCs.
Step 2: Carry Documents
- Aadhaar Card (original) of the person doing eKYC
- Ration Card (if available)
- Mobile (any number — Aadhaar-linked is not required for biometric)
Step 3: Request eKYC at the CSC
Tell the operator: “PMJAY ke liye eKYC karwana hai” (I want to complete PMJAY eKYC). They will open the portal on their system.
Step 4: Biometric Capture
The CSC operator opens the fingerprint scanner device. Place your finger (usually the index finger) on the scanner — the device captures the print and securely compares it with the Aadhaar biometric database.
Step 5: Verification and Submission
Once biometric matches, the operator confirms your details on screen and submits the eKYC. The result is usually instant — approval happens in real-time, often before you leave the CSC.
Step 6: Card Generation
After successful biometric eKYC, the CSC can immediately download and print your Ayushman Card. You walk out with a physical card the same day.
Note: CSC operators may charge a small service fee of ₹20–₹50 for the assistance and printing — the card itself is always free. Always ask for a printed receipt.
Iris scan eKYC is available at select CSCs equipped with iris scanners. It’s primarily used for:
- Elderly users whose fingerprints have worn down with age
- Manual labourers with damaged or unreadable fingerprints
- Cases where biometric has failed multiple times
The process at the CSC is similar to fingerprint biometric — the operator opens the iris scanner device, captures your iris pattern, and the system matches it against the UIDAI iris database. Iris match rates are nearly 100%, making this the highest-success method.
To find a CSC with iris scanning capability, call 14555 before visiting.
Is Ayushman Card eKYC Safe?
Government-grade security backed by the Aadhaar Act 2016.
What Happens After eKYC Is Complete?
Once you submit eKYC successfully, the system enters the verification phase. Here’s what happens behind the scenes:
- Status: Pending — The system matches your eKYC data against the SECC 2011 database
- Automated checks run within the NHA backend (typically completes in 15 minutes to 1 hour)
- Status: Approved — Once checks pass, your card becomes downloadable
Track your progress on the status check page. Once approved, immediately download your Ayushman Card PDF — it’s valid at 30,000+ empanelled hospitals nationwide.
If approval takes longer than 24 hours, call 14555 for manual escalation.
Common eKYC Errors & Fixes
Toll-free · 11+ Indian languages · Monday to Saturday
Frequently Asked Questions
Is Ayushman Card eKYC mandatory?+
How long does the eKYC process take?+
Can I do eKYC without an Aadhaar-linked mobile number?+
Is Ayushman Card eKYC safe? What about my Aadhaar data?+
What is Face Authentication eKYC?+
What if my eKYC keeps failing?+
Can someone else do eKYC on my behalf?+
Is there a fee for Ayushman Card eKYC?+
Official sources: pmjay.gov.in · uidai.gov.in · Helpline: 14555